Auto-Approving Actions
⚠️ SECURITY WARNING: Auto-approve settings bypass confirmation prompts, giving Roo direct access to your system. This can result in data loss, file corruption, or worse. Command line access is particularly dangerous, as it can potentially execute harmful operations that could damage your system or compromise security. Only enable auto-approval for actions you fully trust.
Auto-approve settings speed up your workflow by eliminating repetitive confirmation prompts, but they significantly increase security risks.
* Update: We've added an auto-approve Question action since this video was made. You can find it below!
Quick Start Guide
- Click the Auto-Approve Toolbar above the chat input
- Select which actions Roo can perform without asking permission
- Use the master toggle (leftmost checkbox) to quickly enable/disable all permissions
Auto-Approve Toolbar
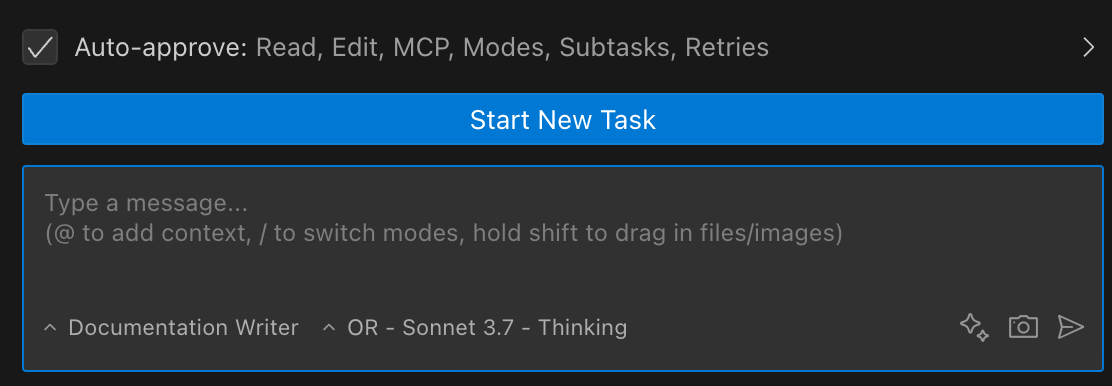
Prompt box and Auto-Approve Toolbar showing enabled permissions
Click the toolbar to expand it and configure individual permissions:
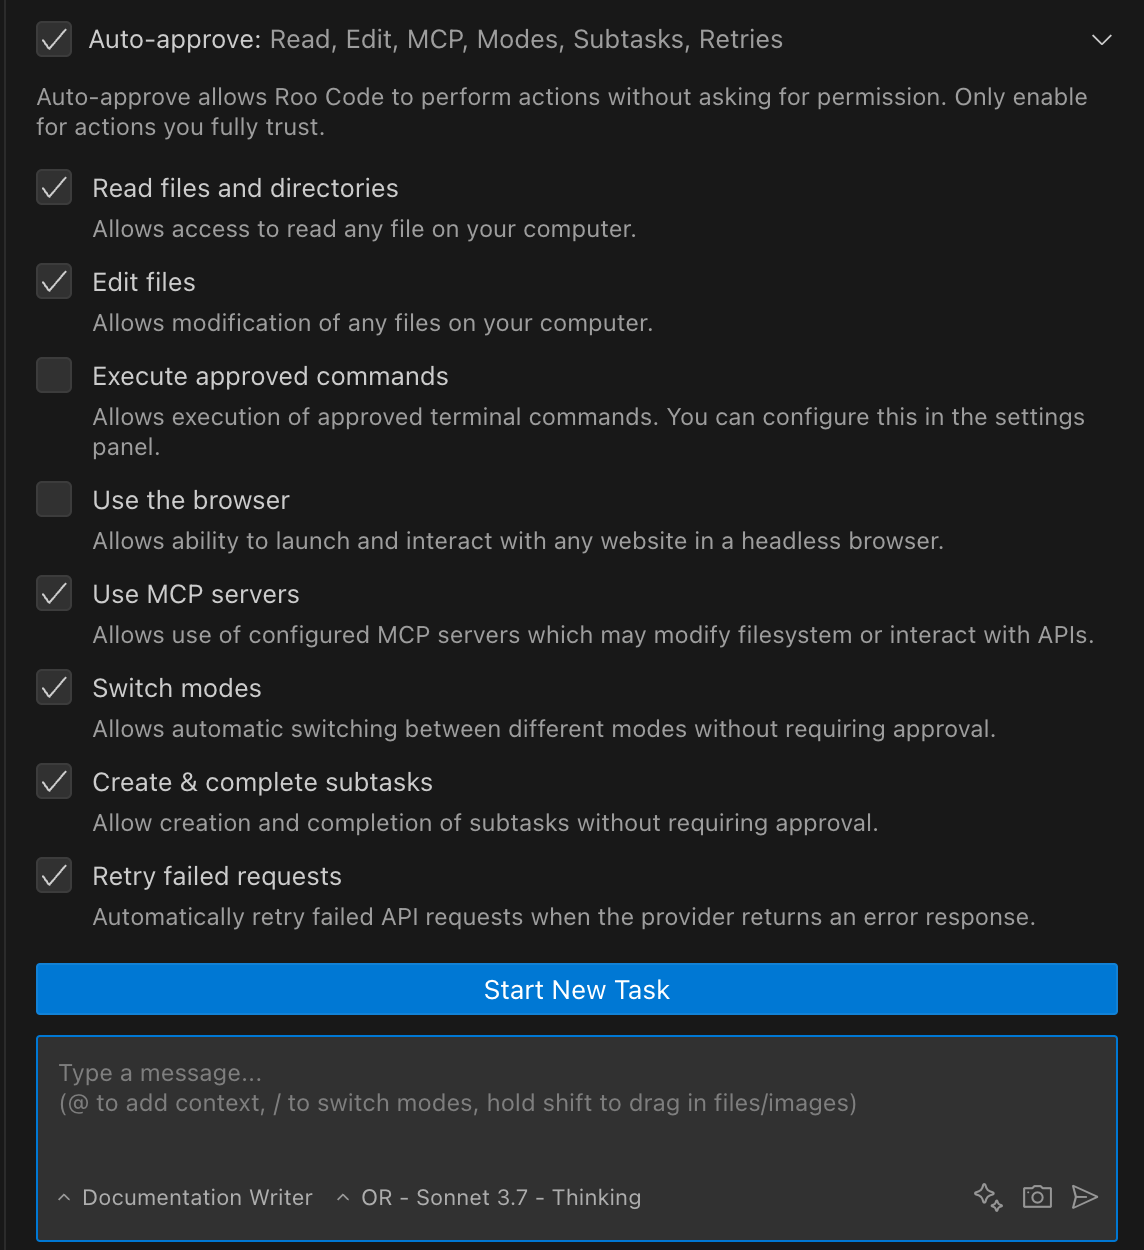
Prompt text box and Expanded toolbar with all options
API Request Limit
The toolbar includes an input field to set the maximum number of API requests Roo can make automatically:
- Purpose: Prevents runaway API usage and unexpected costs
- Default: No limit (empty field)
- Recommended: Set a reasonable limit based on your task complexity (e.g., 50-100 for most tasks)
- How it works: Once the limit is reached, Roo will pause and ask for permission to continue
This safety feature is particularly useful when:
- Working with expensive API models
- Testing new workflows
- Letting Roo work autonomously for extended periods
Available Permissions
| Permission | What it does | Risk level |
|---|---|---|
| Read files and directories | Lets Roo access files without asking | Medium |
| Edit files | Lets Roo modify files without asking | High |
| Execute approved commands | Runs whitelisted terminal commands automatically | High |
| Use the browser | Allows headless browser interaction | Medium |
| Use MCP servers | Lets Roo use configured MCP services | Medium-High |
| Switch modes | Changes between Roo modes automatically | Low |
| Create & complete subtasks | Manages subtasks without confirmation | Low |
| Retry failed requests | Automatically retries failed API requests | Low |
| Answer follow-up questions | Selects default answer for follow-up questions | Low |
| Update todo list | Automatically updates task progress | Low |
Master Toggle for Quick Control
The leftmost checkbox works as a master toggle:

Master toggle (checkbox) controls all auto-approve permissions at once
How it works:
- Checked: Activates all configured auto-approve permissions
- Unchecked: Temporarily disables all auto-approvals without changing individual settings
- Important: Individual permission settings are preserved when toggling
This means you can:
- Configure your preferred permissions once
- Use the master toggle to quickly enable/disable them all
- Your configuration remains intact for next time
Use the master toggle when:
- Working in sensitive code (turn off)
- Doing rapid development (turn on)
- Switching between exploration and editing tasks
- Temporarily pausing automation without losing settings
Advanced Settings Panel
The settings panel provides detailed control with important security context:
Allow Roo to automatically perform operations without requiring approval. Enable these settings only if you fully trust the AI and understand the associated security risks.
To access these settings:
- Click in the top-right corner
- Navigate to Auto-Approve Settings
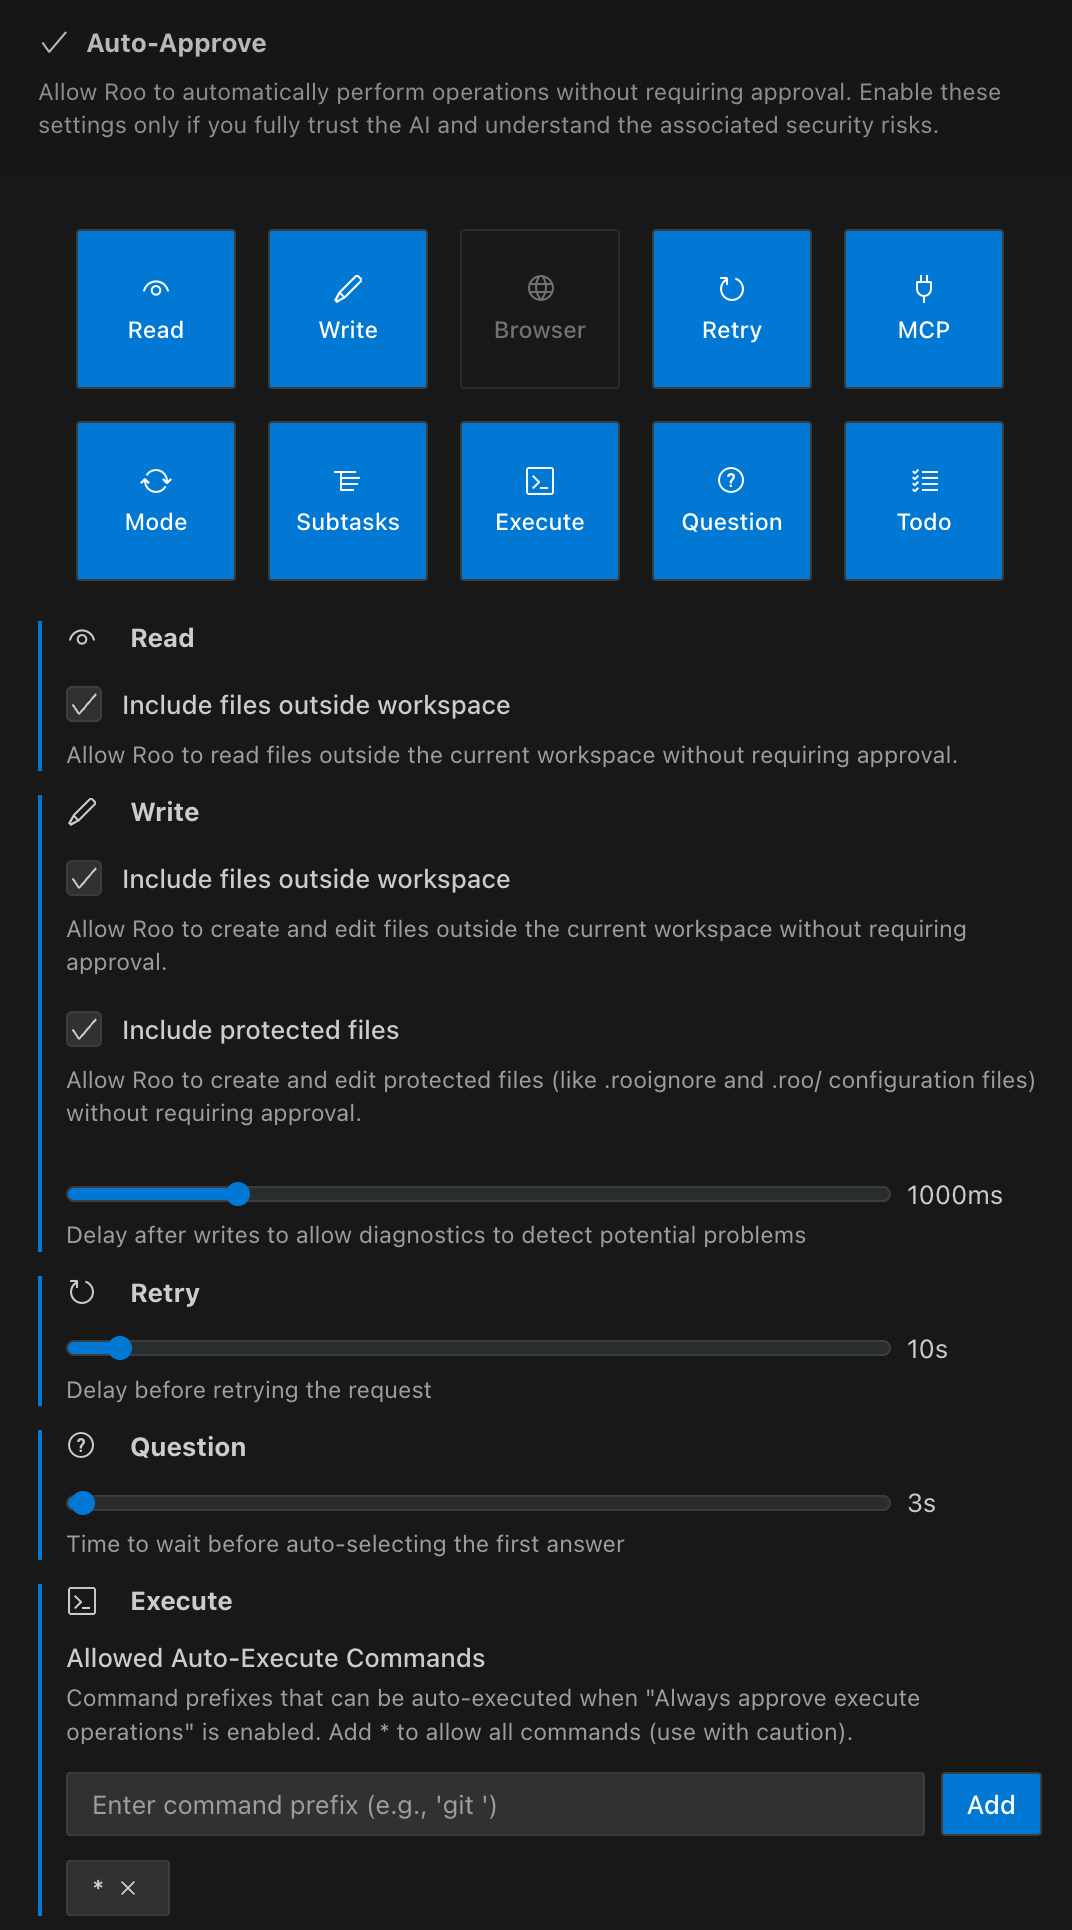
Complete settings panel view
Read Operations
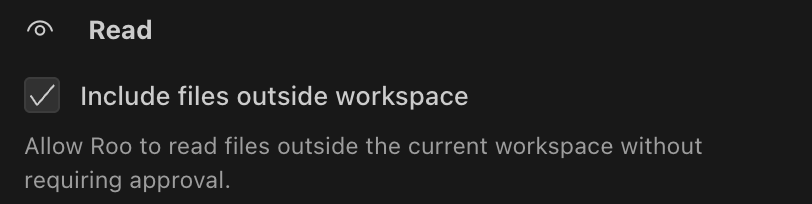
Setting: "Always approve read-only operations"
Description: "When enabled, Roo will automatically view directory contents and read files without requiring you to click the Approve button."
Additional option:
- Include files outside workspace: Allow Roo to read files outside the current workspace directory
Risk level: Medium
While this setting only allows reading files (not modifying them), it could potentially expose sensitive data. Still recommended as a starting point for most users, but be mindful of what files Roo can access.
Workspace Boundary Protection
By default, Roo can only read files within your current workspace directory. The "Include files outside workspace" option extends read access beyond the workspace boundary. Consider the security implications:
- Default (unchecked): Roo can only read files in your project directory
- Enabled: Roo can read any file on your system that you have access to
- Recommendation: Keep disabled unless you specifically need Roo to access external files
Write Operations
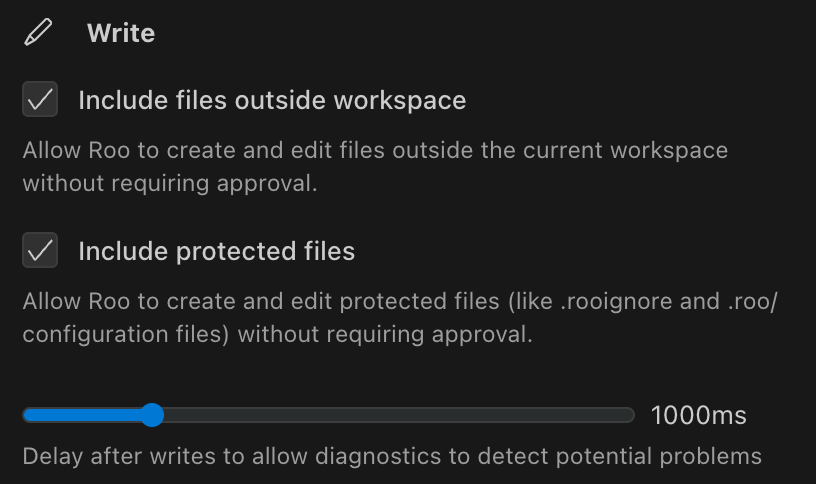
Setting: "Always approve write operations"
Description: "Automatically create and edit files without requiring approval"
Delay slider: "Delay after writes to allow diagnostics to detect potential problems" (Default: 0ms)
Additional options:
- Include files outside workspace: Allow Roo to modify files outside the current workspace directory
- Include protected files: Allow Roo to modify files normally protected by .rooignore and .roo/ directory
Risk level: High
This setting allows Roo to modify your files without confirmation. The delay timer is crucial:
- Higher values (2000ms+): Recommended for complex projects where diagnostics take longer
- Default (0ms): No delay - use when speed is critical
- 1000ms: Suitable for most projects with active diagnostics
- Lower values: Use only when in a controlled environment
Security Boundaries
The write operations setting includes two important security controls:
-
Workspace Boundary Protection: By default, Roo can only modify files within your current workspace. Enable "Include files outside workspace" with extreme caution.
-
Protected Files: Files in .rooignore and the .roo/ directory are protected by default. The "Include protected files" option bypasses this protection - use only when necessary.
Write Delay & Problems Pane Integration
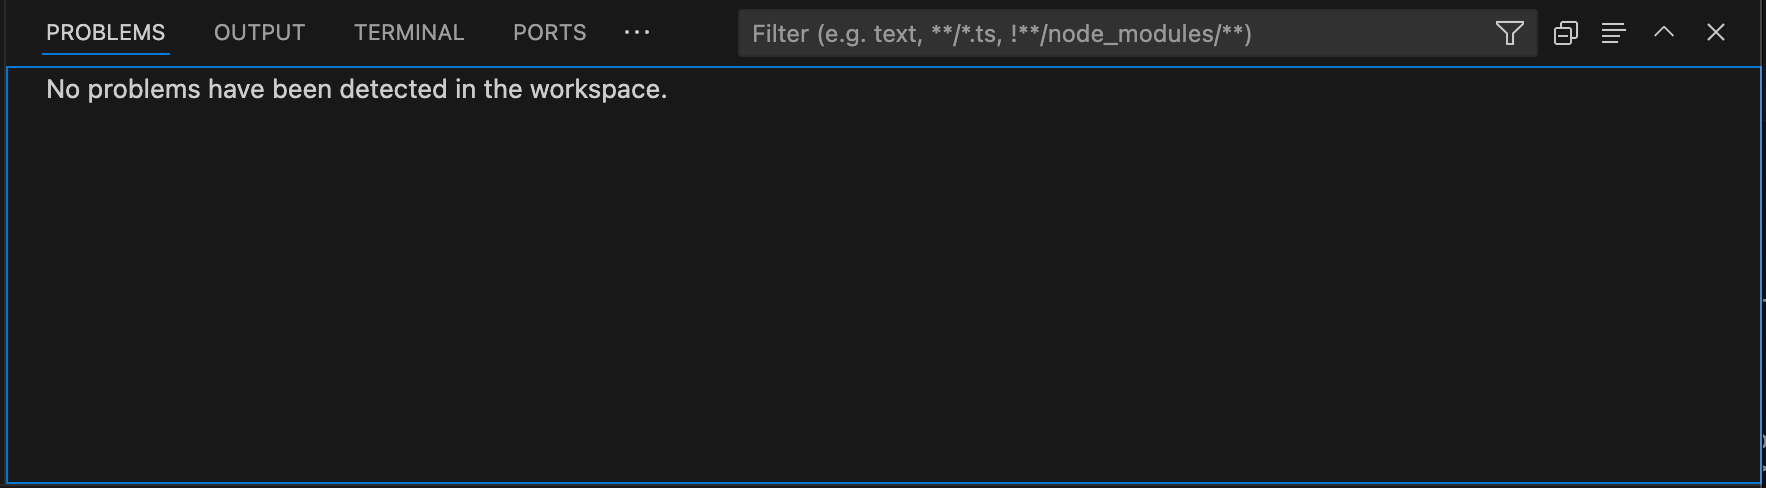
VSCode Problems pane that Roo checks during the write delay
When you enable auto-approval for writing files, the delay timer works with VSCode's Problems pane:
- Roo makes a change to your file
- VSCode's diagnostic tools analyze the change
- The Problems pane updates with any errors or warnings
- Roo notices these issues before continuing
This works like a human developer pausing to check for errors after changing code. You can adjust the delay time based on:
- Project complexity
- Language server speed
- How important error detection is for your workflow
Browser Actions
Setting: "Always approve browser actions"
Description: "Automatically perform browser actions without requiring approval"
Note: "Only applies when the model supports computer use"
Risk level: Medium
Allows Roo to control a headless browser without confirmation. This can include:
- Opening websites
- Navigating pages
- Interacting with web elements
Consider the security implications of allowing automated browser access.
API Requests

Setting: "Always retry failed API requests"
Description: "Automatically retry failed API requests when server returns an error response"
Delay slider: "Delay before retrying the request" (Default: 5s)
Risk level: Low
This setting automatically retries API calls when they fail. The delay controls how long Roo waits before trying again:
- Longer delays are gentler on API rate limits
- Shorter delays give faster recovery from transient errors
MCP Tools
Setting: "Always approve MCP tools"
Description: "Enable auto-approval of individual MCP tools in the MCP Servers view (requires both this setting and the tool's individual 'Always allow' checkbox)"
Risk level: Medium-High (depends on configured MCP tools)
This setting requires a two-step permission process for security:
- Enable this global setting - Acts as a master switch for all MCP tool auto-approval
- Enable individual tool permissions - In the MCP Servers view, check "Always allow" for specific tools
Important: Both permissions must be active for a tool to auto-approve. This dual-permission system ensures you maintain granular control over which MCP tools can execute without confirmation.
Example workflow:
- Enable "Always approve MCP tools" in settings
- Navigate to MCP Servers view
- Find the specific tool (e.g., filesystem operations)
- Check its "Always allow" checkbox
- Only then will that specific tool auto-approve
Mode Switching
Setting: "Always approve mode switching"
Description: "Automatically switch between different modes without requiring approval"
Risk level: Low
Allows Roo to change between different modes (Code, Architect, etc.) without asking for permission. This primarily affects the AI's behavior rather than system access.
Subtasks
Setting: "Always approve creation & completion of subtasks"
Description: "Allow creation and completion of subtasks without requiring approval"
Risk level: Low
Enables Roo to create and complete subtasks automatically. This relates to workflow organization rather than system access.
Command Execution
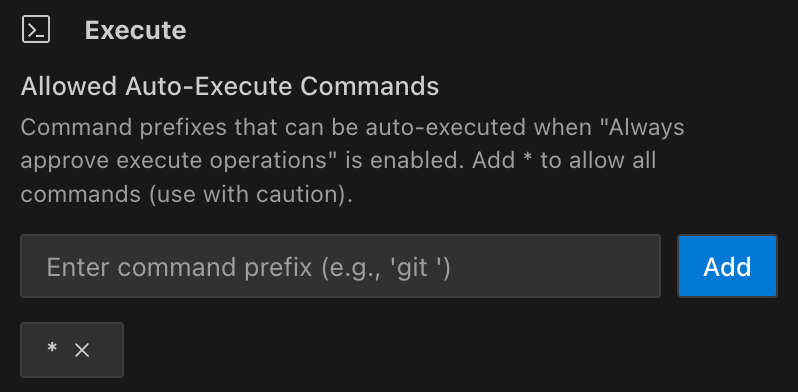
Setting: "Always approve allowed execute operations"
Description: "Automatically execute allowed terminal commands without requiring approval"
Command management: "Command prefixes that can be auto-executed when 'Always approve execute operations' is enabled. Add * to allow all commands (use with caution)."
Risk level: High
This setting allows terminal command execution with controls. While risky, the whitelist feature limits what commands can run. Important security features:
- Whitelist specific command prefixes (recommended)
- Never use * wildcard in production or with sensitive data
- Consider security implications of each allowed command
- Always verify commands that interact with external systems
Interface elements:
- Text field to enter command prefixes
- "Add" button to add new prefixes
- Clickable command buttons with X to remove them
Common whitelist examples:
git- Version control operationsnpm run- Run package.json scriptspython -m pytest- Run Python testscargo test- Run Rust testsgo test- Run Go testsdocker ps- List Docker containersls- List directory contentscat- Display file contents
Security tip: Be specific with prefixes. Instead of allowing all python commands, limit to python -m pytest for test execution only.
Follow-Up Questions

Setting: Always default answer for follow-up questions
Description: Automatically selects the first AI-suggested answer for a follow-up question after a configurable timeout. This speeds up your workflow by letting Roo proceed without manual intervention.
Visual countdown: When enabled, a countdown timer appears on the first suggestion button, showing the remaining time before auto-selection. The timer is displayed as a circular progress indicator that depletes as time passes.
Timeout slider: Use the slider to set the wait time from 1 to 300 seconds (Default: 60s).
Override options: You can cancel the auto-selection at any time by:
- Clicking a different suggestion
- Editing any suggestion
- Typing your own response
- Clicking the timer to pause it
Risk level: Low
Use cases:
- Overnight runs where you want Roo to continue working
- Repetitive tasks where the default suggestions are usually correct
- Testing workflows where interaction isn't critical
Update Todo List
Setting: "Always approve todo list updates"
Description: "Automatically update the to-do list without requiring approval"
Risk level: Low
This setting allows Roo to automatically update task progress and todo lists during work sessions. This includes:
- Marking tasks as completed
- Adding new discovered tasks
- Updating task status (pending, in progress, completed)
- Reorganizing task priorities
Benefits:
- Maintains real-time task progress visibility
- Reduces interruptions during multi-step workflows
- Keeps project status accurately reflected
- Helps track complex task dependencies
Use cases:
- Long-running development sessions
- Multi-step refactoring projects
- Complex debugging workflows
- Feature implementation with many subtasks
This is particularly useful when combined with the Subtasks permission, as it allows Roo to maintain a complete picture of project progress without constant approval requests.